Estructurar tu Lumo
Trabajar con múltiples etapas
A medida que sus formularios digitales se vuelven más complejos, dividirlos en múltiples secciones o pasos es esencial para una gran experiencia de usuario. En LumoPages, estas secciones se llaman Stages. Usar múltiples etapas ayuda a prevenir la sobrecarga de información, guía a los usuarios a través de procesos complejos paso a paso y hace que sus Lumos parezcan menos intimidantes de completar.
Esta guía le mostrará los beneficios y las prácticas de trabajar con múltiples etapas en su Lumo.
¿Por qué usar múltiples etapas?
- Experiencia de usuario mejorada (UX): Los formularios grandes pueden ser intimidantes. Las etapas dividen el formulario en partes más pequeñas y manejables, haciéndolo parecer menos abrumador y más fácil de completar.
- Flujo lógico: Guíe a los usuarios a través de un proceso secuencial. Por ejemplo, recopilar datos de contacto primero, luego pasar a comentarios específicos.
- Enfoque mejorado: Cada etapa puede centrarse en un solo tema o un grupo relacionado de preguntas, mejorando la claridad para el usuario.
- Menor tasa de abandono: Un formulario percibido como más corto (debido a las etapas) puede animar a más usuarios a comenzar y terminar.
Construyendo su Lumo de múltiples etapas: un enfoque paso a paso
Al construir Lumos con múltiples etapas, el flujo de trabajo es iterativo: agrega una etapa, la puebla con bloques y luego pasa a la siguiente etapa.
Agregue etapas posteriores: Una vez que su etapa inicial esté tomando forma, puede agregar más etapas para expandir el contenido de su Lumo.
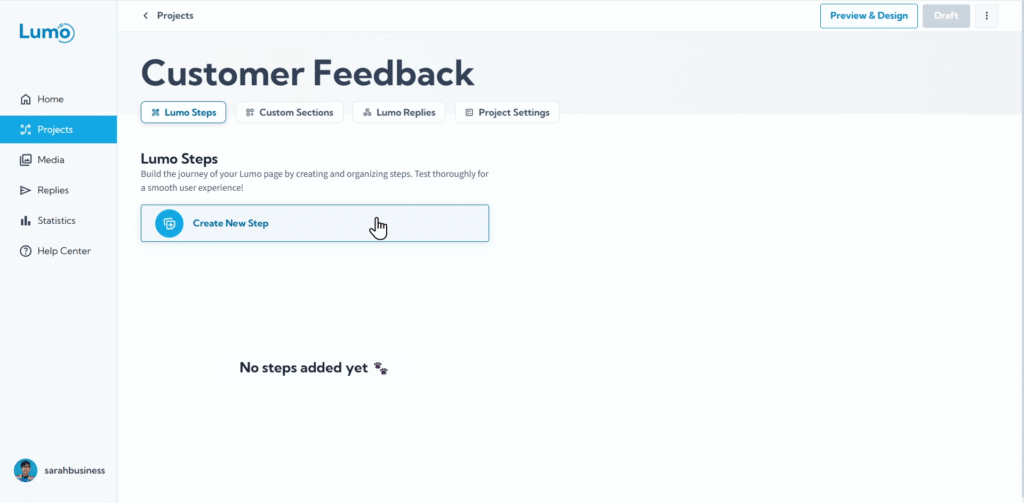
- En el área de gestión de etapas (generalmente en el lado izquierdo del editor), haga clic en el botón "Add New Stage".
- Nombre su nueva etapa inmediatamente para mantener su proyecto organizado.
Gestione el estado de la etapa (Oculto vs. Publicado): Recuerde, cada nueva etapa que crea está automáticamente "Hidden" (Draft) por defecto. Esto le permite construir la etapa de forma privada sin afectar su Lumo activo.
- Una vez que una etapa esté completa y lista, navegue a su configuración y "Publish" para hacerla visible en su Lumo activo.
Navegando entre etapas en su Lumo
Para sus usuarios, navegar un Lumo de múltiples etapas es fluido:
- Botones Siguiente/Anterior: LumoPages proporciona automáticamente botones "Next" y "Previous" (o elementos de navegación similares) en la parte inferior de cada etapa, permitiendo a los usuarios avanzar o retroceder en el formulario.
- Progreso automático: Los usuarios son guiados de una etapa a la siguiente en el orden en que las creó y publicó.
Consideraciones importantes para las etapas
- Orden de las etapas: Actualmente, el orden de las etapas se determina por la secuencia en que las agrega a su proyecto. No hay opción para reordenar etapas después de crearlas.
- Etapas y bloques ilimitados: Puede crear un número ilimitado de etapas dentro de un proyecto, y cada etapa puede contener un número ilimitado de bloques. Esto ofrece una inmensa flexibilidad para formularios complejos.
Planifique cuidadosamente el flujo de su Lumo y agregue etapas en su secuencia final deseada para evitar tener que recrearlas si el orden cambia.
Al dominar el uso de múltiples etapas, puede crear Lumos profesionales y fáciles de usar que recopilen información completa sin abrumar a su audiencia. Este enfoque estructurado es clave para un diseño efectivo de formularios digitales.