La guía definitiva: Cómo usar un creador de formularios con IA para crear experiencias digitales
Guía paso a paso para usar el asistente de IA de LumoPages y pasar de una idea a un Lumo publicado en minutos.
Crear un formulario digital profesional solía llevar horas de arrastrar, soltar y redacción manual. Ya no. Con el AI Assistant de LumoPages, puedes pasar de una idea a un "Lumo" en vivo en unos pocos clics.
Ya sea que construyas una página de generación de leads, una encuesta de clientes o un registro de evento, aquí tienes tu guía paso a paso para dominar el creador de formularios con IA.
Paso 1: Empieza con "AI-Powered Creation"
Una vez que inicies sesión en tu panel de LumoPages, verás la opción de crear un nuevo proyecto. En lugar de empezar desde cero, selecciona "AI-Powered Creation."
Aquí ocurre la magia. Verás un cuadro de prompt simple. Solo describe lo que necesitas en lenguaje natural (¡en inglés o hebreo!).
- Ejemplo de prompt: "Create a 3-stage registration form for a yoga workshop including contact details, experience level, and health declaration."
Haz clic en Generate y observa cómo la IA construye toda la estructura, elige los tipos de campo correctos y escribe el copy por ti.
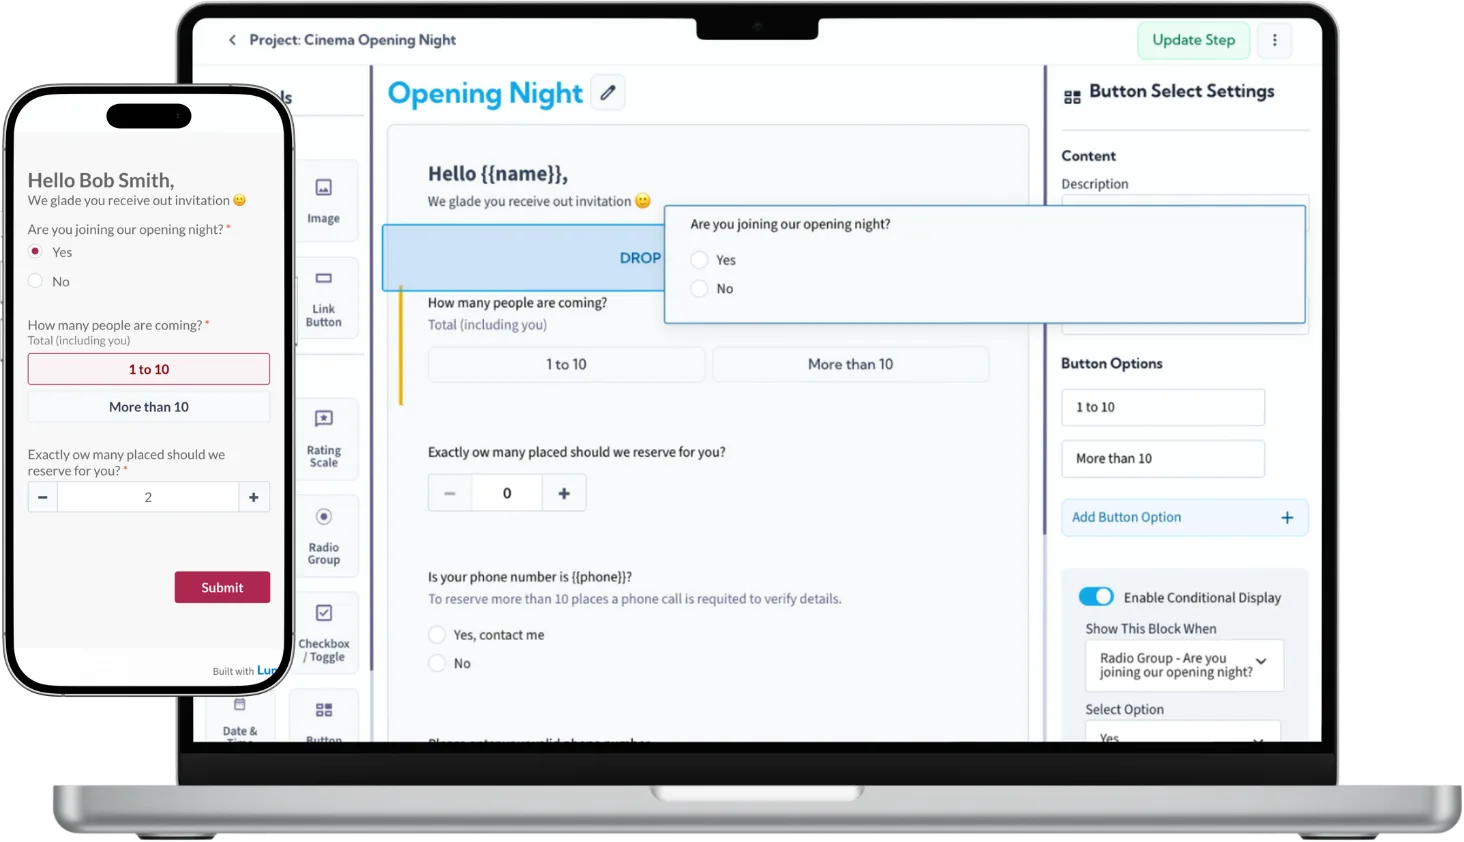
Paso 2: Refina tu contenido con el AI Assistant
La IA no solo construye la casa; te ayuda a decorarla. Si tienes un bloque de texto existente o una pregunta específica que no se siente "correcta," puedes usar el AI Assistant dentro del editor.
Simplemente haz clic en cualquier text block o pregunta y usa la herramienta de IA para:
- Rewrite for Clarity: Hacer preguntas complejas más fáciles de entender.
- Change the Tone: Cambiar de formal a amigable o profesional en un segundo.
- Overcome Writer's Block: Dejar que la IA sugiera mejores titulares o botones de call-to-action.
Paso 3: Personaliza diseño e idioma
LumoPages está construido para una audiencia global. Mientras la IA hace el trabajo pesado, tienes control creativo total:
- Full Hebrew Support: Puedes ajustar fácilmente la alineación y el texto para soportar idiomas RTL (de derecha a izquierda), perfecto para el mercado israelí.
- Custom Branding: Cambia colores, sube tu logo y elige fuentes que coincidan con tu identidad de marca.
- Project Settings: Define tus preferencias de notificación para recibir un email cada vez que alguien envíe tu formulario.
Paso 4: Publica y comparte tu Lumo único
Cuando estés satisfecho con tu creación, pulsa Publish. Tu formulario es ahora un "Lumo," una página digital independiente con su propia URL única.
Puedes:
- Compartir el enlace directamente en redes sociales o por email.
- Incrustarlo en tu sitio web existente.
- Pro Tip: Tus datos están seguros y organizados en tu LumoPages Inbox, y si necesitas análisis profundo, puedes usar Google Sheets Export para mover tus datos al instante.
¿Por qué esperar? Tu primer formulario generado por IA está a segundos.
¿Lo mejor? No necesitas ser un experto técnico ni un diseñador. LumoPages está diseñado para ser amigable, intuitivo e increíblemente rápido.